Happy Pink Saturday! Thank you to Beverly at How Sweet The Sound for hosting this weekly event.
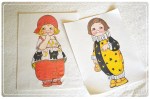
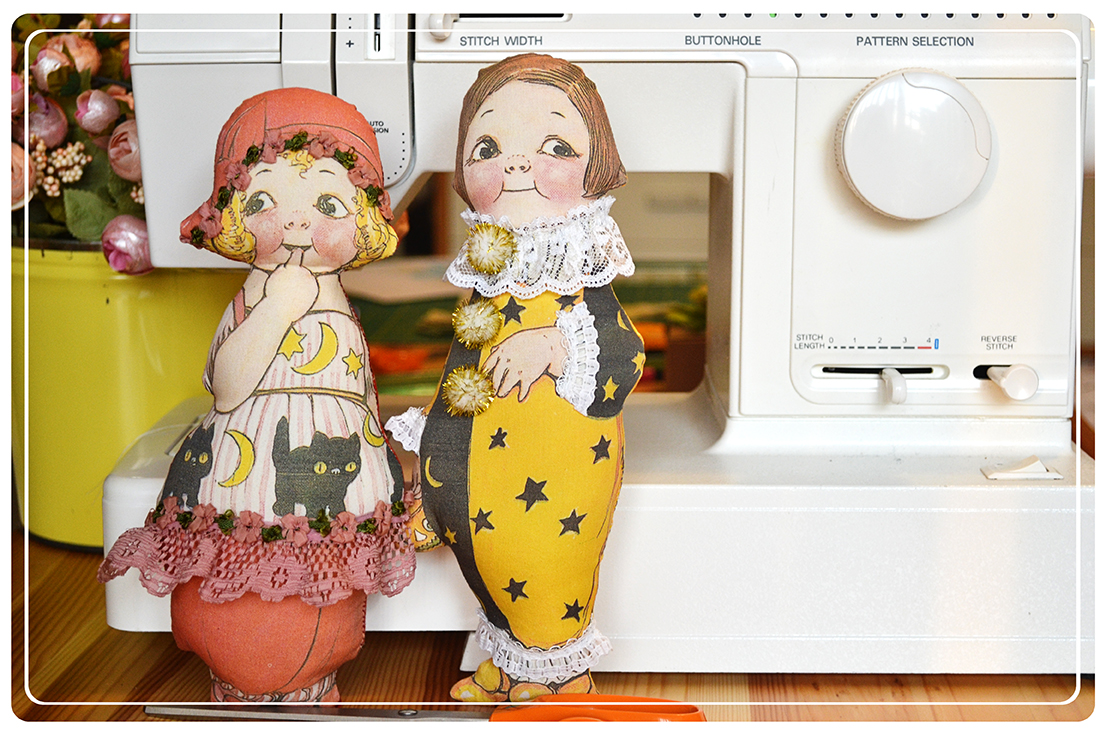
I have been wanting to do this method of printing on muslin for a while now. As dear hubby always says, it all comes down to having the proper tools. And since I have all my sewing/cutting/printing tools at hand, I thought I’d give it a go. As I was perusing around, I came across Aunt Lindy’s Paper Doll fabric panels. Of course, they have been around for a while, and no one seems to have them anymore, so I found a cute graphic of Dolly Dingle & Billie Bumps, and made my own fabric panels. I resized and tweaked the graphics in Photoshop first. Here is the process I used, and here is where I got the graphics. The only deviation from the process was that I ironed the fabric onto the butcher paper first, then used my rotary cutter to cut a nice 8 1/2″ x 11″ . And the biggest tip in this process is, make sure the muslin (pre-washed) is ironed on really well to the butcher paper. You can see on my photo where Dolly Dingle near her pantaloons snagged a bit. Billie Bumps was my second go, and his printout came out pretty good. I ironed the printout to set the colors ( not sure how well the color washes). Then I just got backing fabric, sewed around the perimeter, stuffed, embellished, and “voila!” who needs to buy a fabric panel, you can make your own! Oh, the possibilities are endless!

 They do look like they lost some weight 🙂 … Oh, and Happy Halloween in July!
Dolls #3 & #4 done! (only 3 to catch up)
– Linda


